
Hi,
Hopefully you’ll forgive the pun. It felt a better choice than anything to do directly with boobs or related slang terms.
One of the things I find affirming about my body, is when I put my bra on and – after some careful medical tape powered scaffolding and related tweaks – I can look down to see what I think should be there. Namely, my boobs.
Now, if through genetics, age, and/or just good ‘ol pot luck, there’s always been a certain amount of tissue in that department. Not quite “there are lots of people on the balcony” but enough to give things a helping hand.
I mention this – not as a Ms Smug-Pants brag – but very much as ‘your mileage may vary’. This process works for me and I dare say you will need to experiment and find what is right for you.
What you will need
Time to experiment – I would strongly advise you not to try and do this when you’re just about to go out. Sure, you can…. but in my (numpty) experience, putting a load of pressure on myself to get it right first time; well, that rarely ends well! 🙂
Instead of rushing, make some time (when you can) and take it steady. This is about finding what works for you, so it’s absolutely okay to have a few false starts and remember to aim for ‘good enough’, rather than wanting perfection first time.
The right bra – I’ve written about this before, and if you can, do get measured by a professional. I can’t stress enough on how the right sized bra makes all the difference. I know it is easier to say than do, and if you are just starting out, that might be asking a lot. However, if you can, do. If you can’t, you’ll have to try your best with what you have.
Tape – I use some sports tape from Boots. It’s inexpensive, stays put well, can be ripped/cut when you need to, and – while not pain free to remove – does come off. Just – for the love of all that’s fabulous – do not pull hard! That will hurt.
The tape – wherever you get it from – needs to be firm and not stretchy, in my experience. I’ve tried the latter and my findings where that it was both too tight and too lose. Say, whut?! Yeah, the stretch meant you didn’t get the support I needed, and not getting that, meant I pulled harder, meaning more stress (ouch) on my skin.
Bra inserts – Various choices here from bags of rice, rolled up tights, silicon inserts (or ‘chicken fillets’ to use their slang term). Personally, I’ve been using two pairs of inserts. They are fairly inexpensive and can be replaced as they get worn. There are just high street sourced, and this technique won’t work on breast plates.
Clean skin – I find a warm shower helps with getting a close shave on my chest. The shaving also helps exfoliate and that improves the tape’s stick. If you are going to moisturise – and you should 😉 – be wary not to apply it under your chest area or around your armpits.
How to…
First step
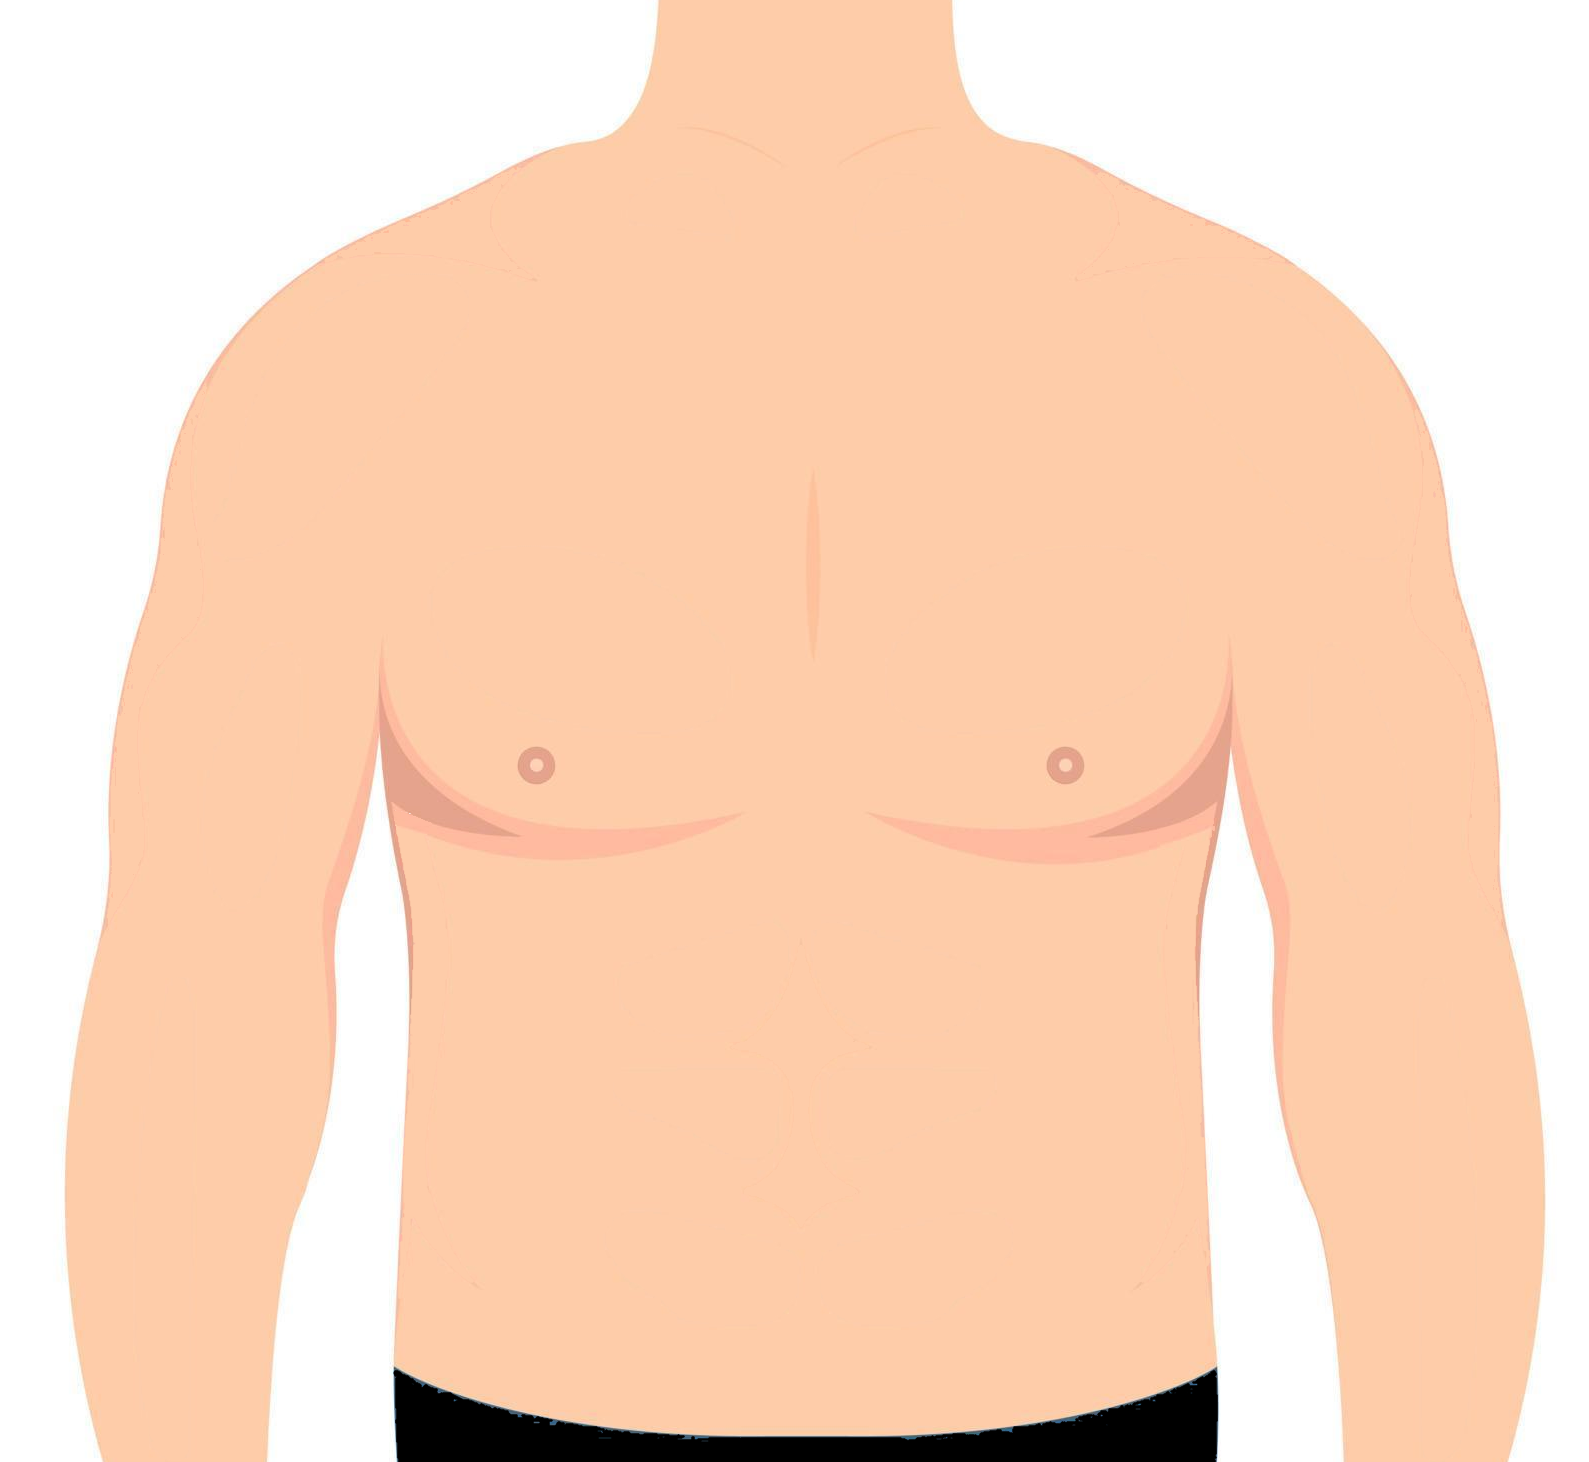
Ensure you’ve got your bra, tape, and some time to give this a go. Now, this is going to take some practice and I’d recommend you pull a strip of tape about the width of your chest. You’ll need that to run from the outside of your chest on the left, to the outside on the right.
Yes, you can use less tape if you’ll be wearing a sleeveless top. Likewise, if you are left handed, do go the opposite way to me.
Once you’ve got your tape strip, carefully tap the end to your nose (no really!) or a nearby object. You’ll apply it in a later stage. This is just getting it ready. No, don’t stick it on your hand – you’ll need both hands free for stage two 🙂
Second step
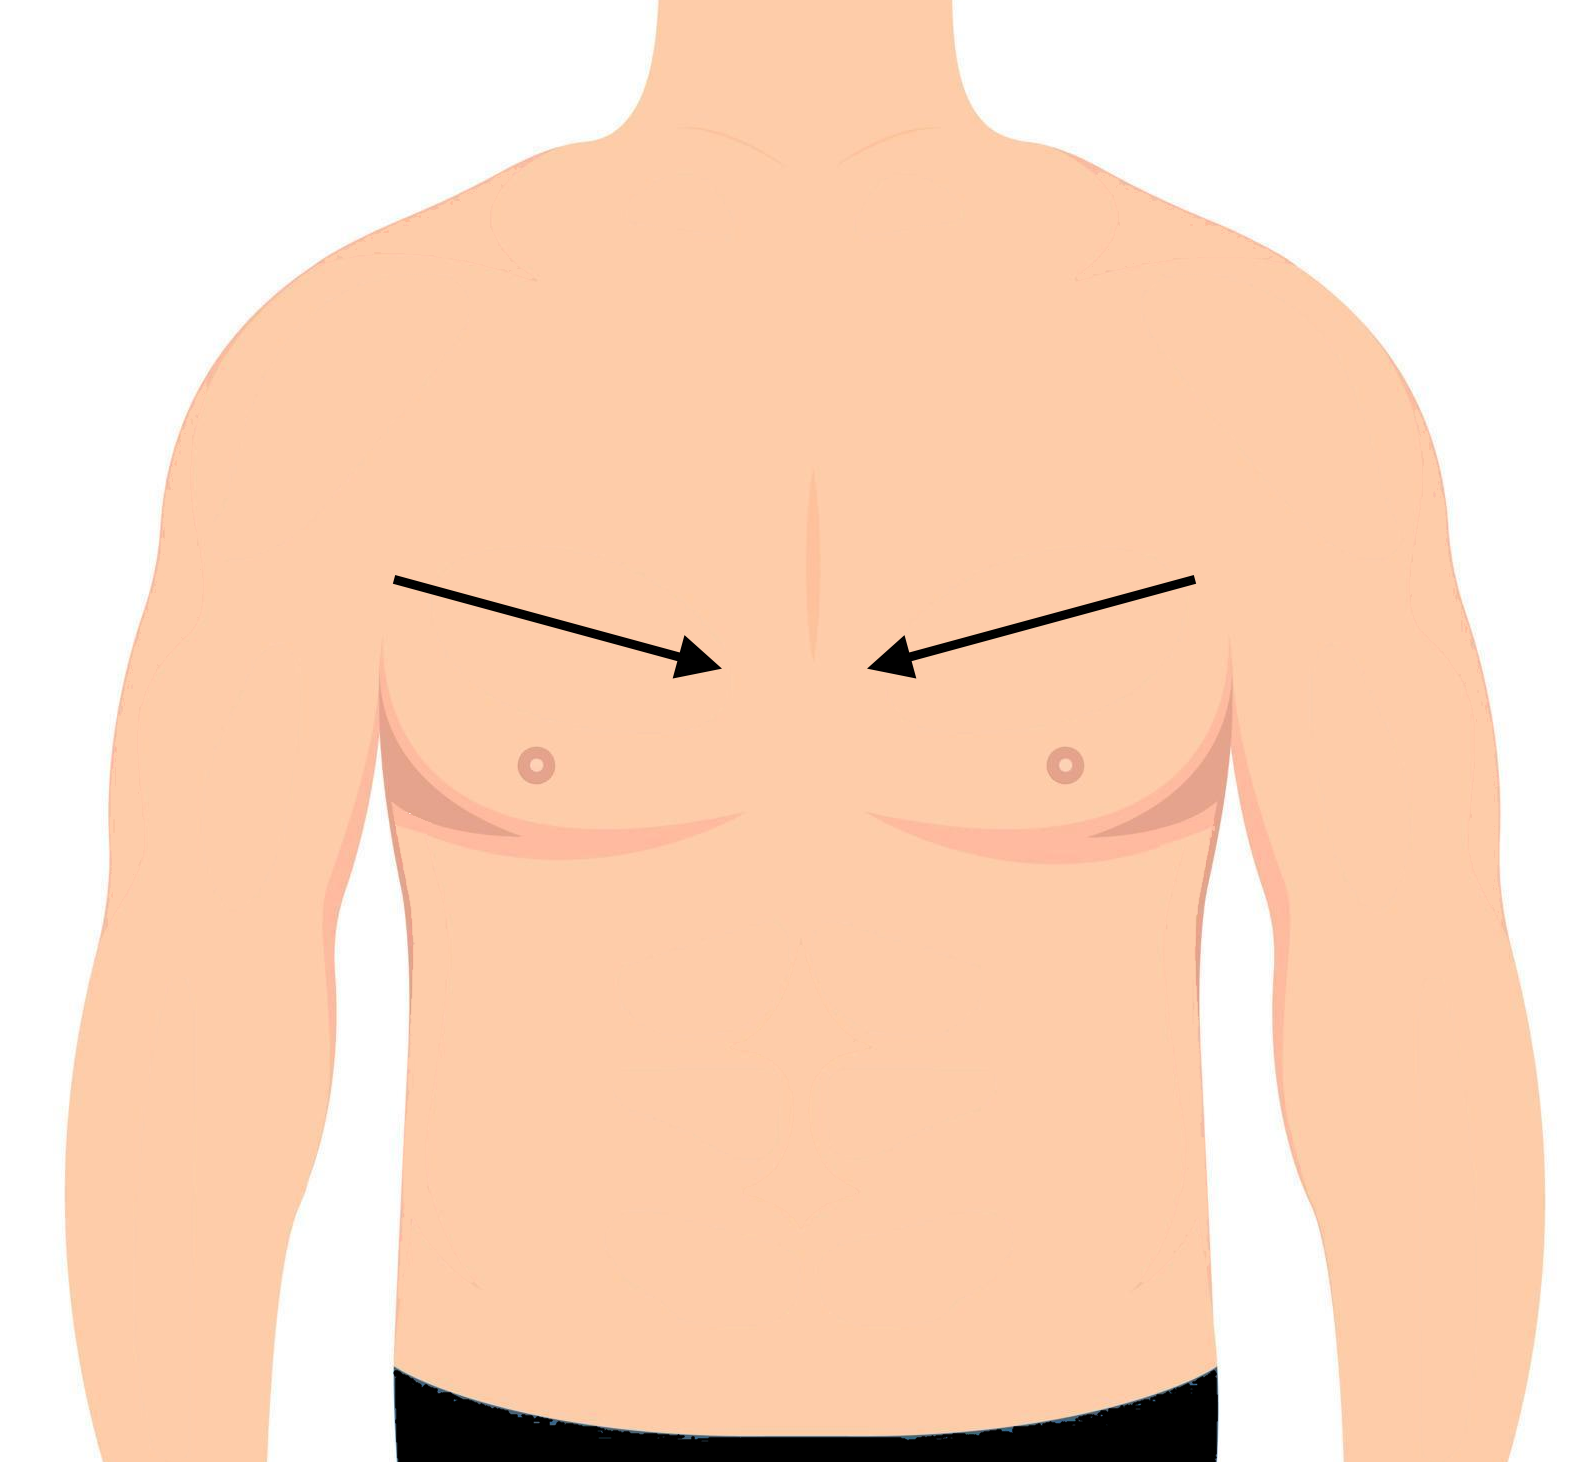
Using both hands, put your left hand nearly under your right armpit, and do the same with your right hand to left armpit. You should have your wrists crossed and be able to pull – carefully! ❤️ – breast tissue together. You will want to be fairly high up your chest – and yes, experimentation is needed here.
Once you have -ahem- ‘gathered the troops’ 😉 carefully stretch out your left hand and reach across to the right hand side of your chest tissue. You should now have pulled together a cleavage and you’re holding it with one hand.
Third step
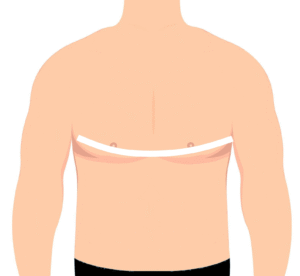
Reach for the tape using your spare hand, and in this example we’ll work from left to right.
Keeping your hand on your new boobs, attach the tape to the point sort of midway between chest tissue and near-ish to your armpit on the left.
You’ll want to be high-up-ish – see image – and draw it across your chest. The key thing here is to keep that pinch going with your left hand, because this is what’s going to give you some cleavage.
When you’re done, the tape should press your breast tissue together and the tape will dip – a bit like a smile – with the corners being armpit to armpit.
If you mess this up, that’s okay! ❤️ Just remove the tape, bin it, and try again.
Forth step
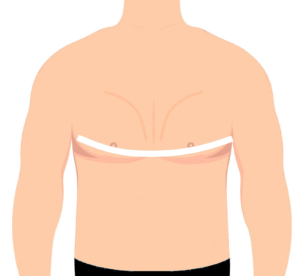
Not quite the final step, but this should be the end of faffing about 🙂
You should now have chest tissue pulled together and held together by the tape. Don’t be tempted to remove or tweak the tape, that will weaken it.
If you do think you need a bit more support, create a new strip of tape and apply again – this time aiming a little higher if needs be.
I will be honest and say what you’re looking at now is not the finished product!
Last step
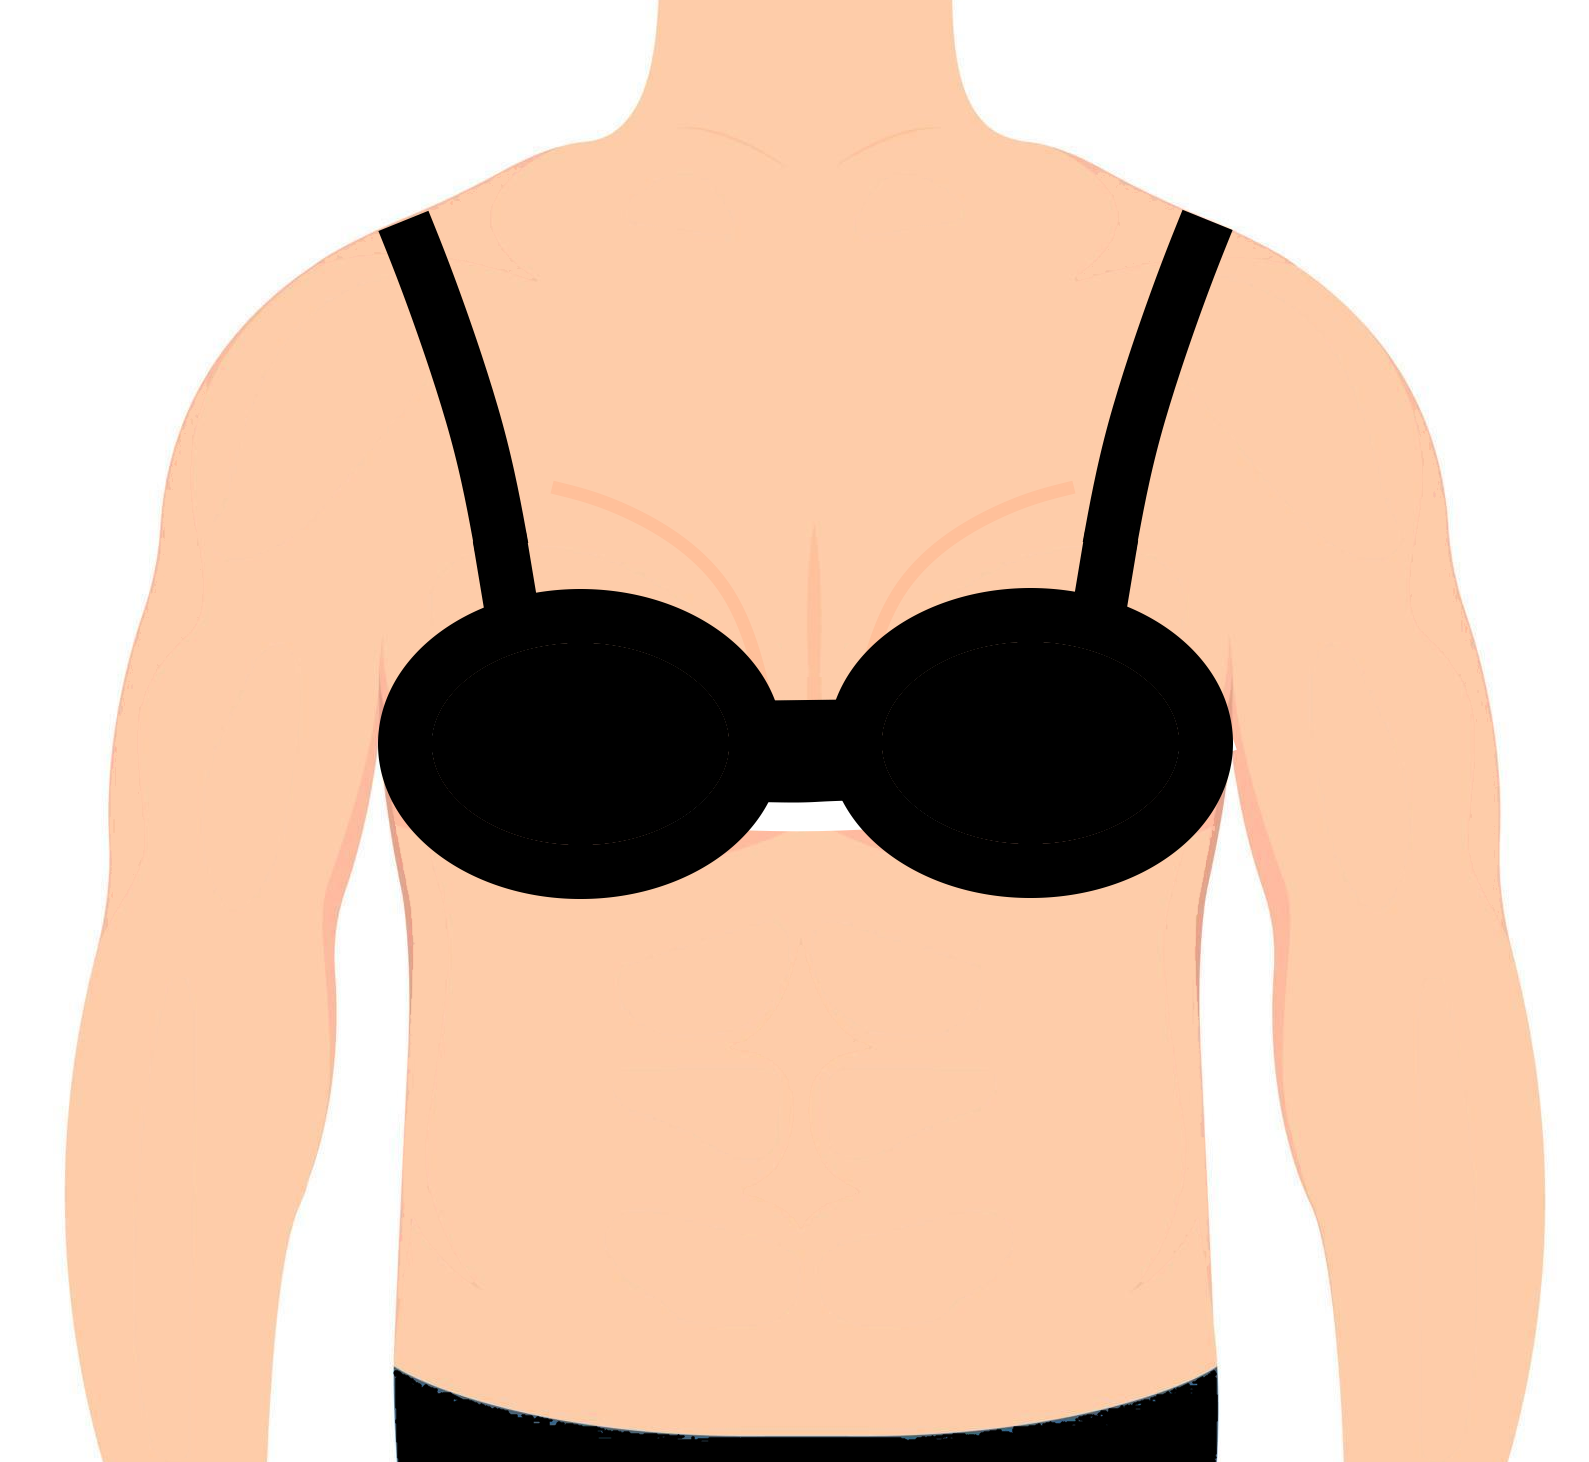
With your new -ahem- assets fixed, pop your bra on. When it comes to inserting the, uhh, inserts 🙂 lift your chest tissue up and inward; then put the fillet in both underneath and slightly to the outside. The aim here is to lift and bring your chest towards the centre of your bra.
NB: I use two pairs of chicken fillets. If you need to use one or even three; that’s up to you.
If things aren’t quite right, adjust your chest tissue as you can, and try the fillets in different locations. I have found that having two pairs means you can have one the right way up and the other upside down. This means you get lift with the first, and the second gives volume to ensure your chest tissue is pushed to the bra cups.
Alternatively….
You’ll know that I write from experience and this means that what I do, I know works for me. This doesn’t make this technique right and others wrong. It’s just that these steps work on my body. You’re unique, so what you need may well be different.
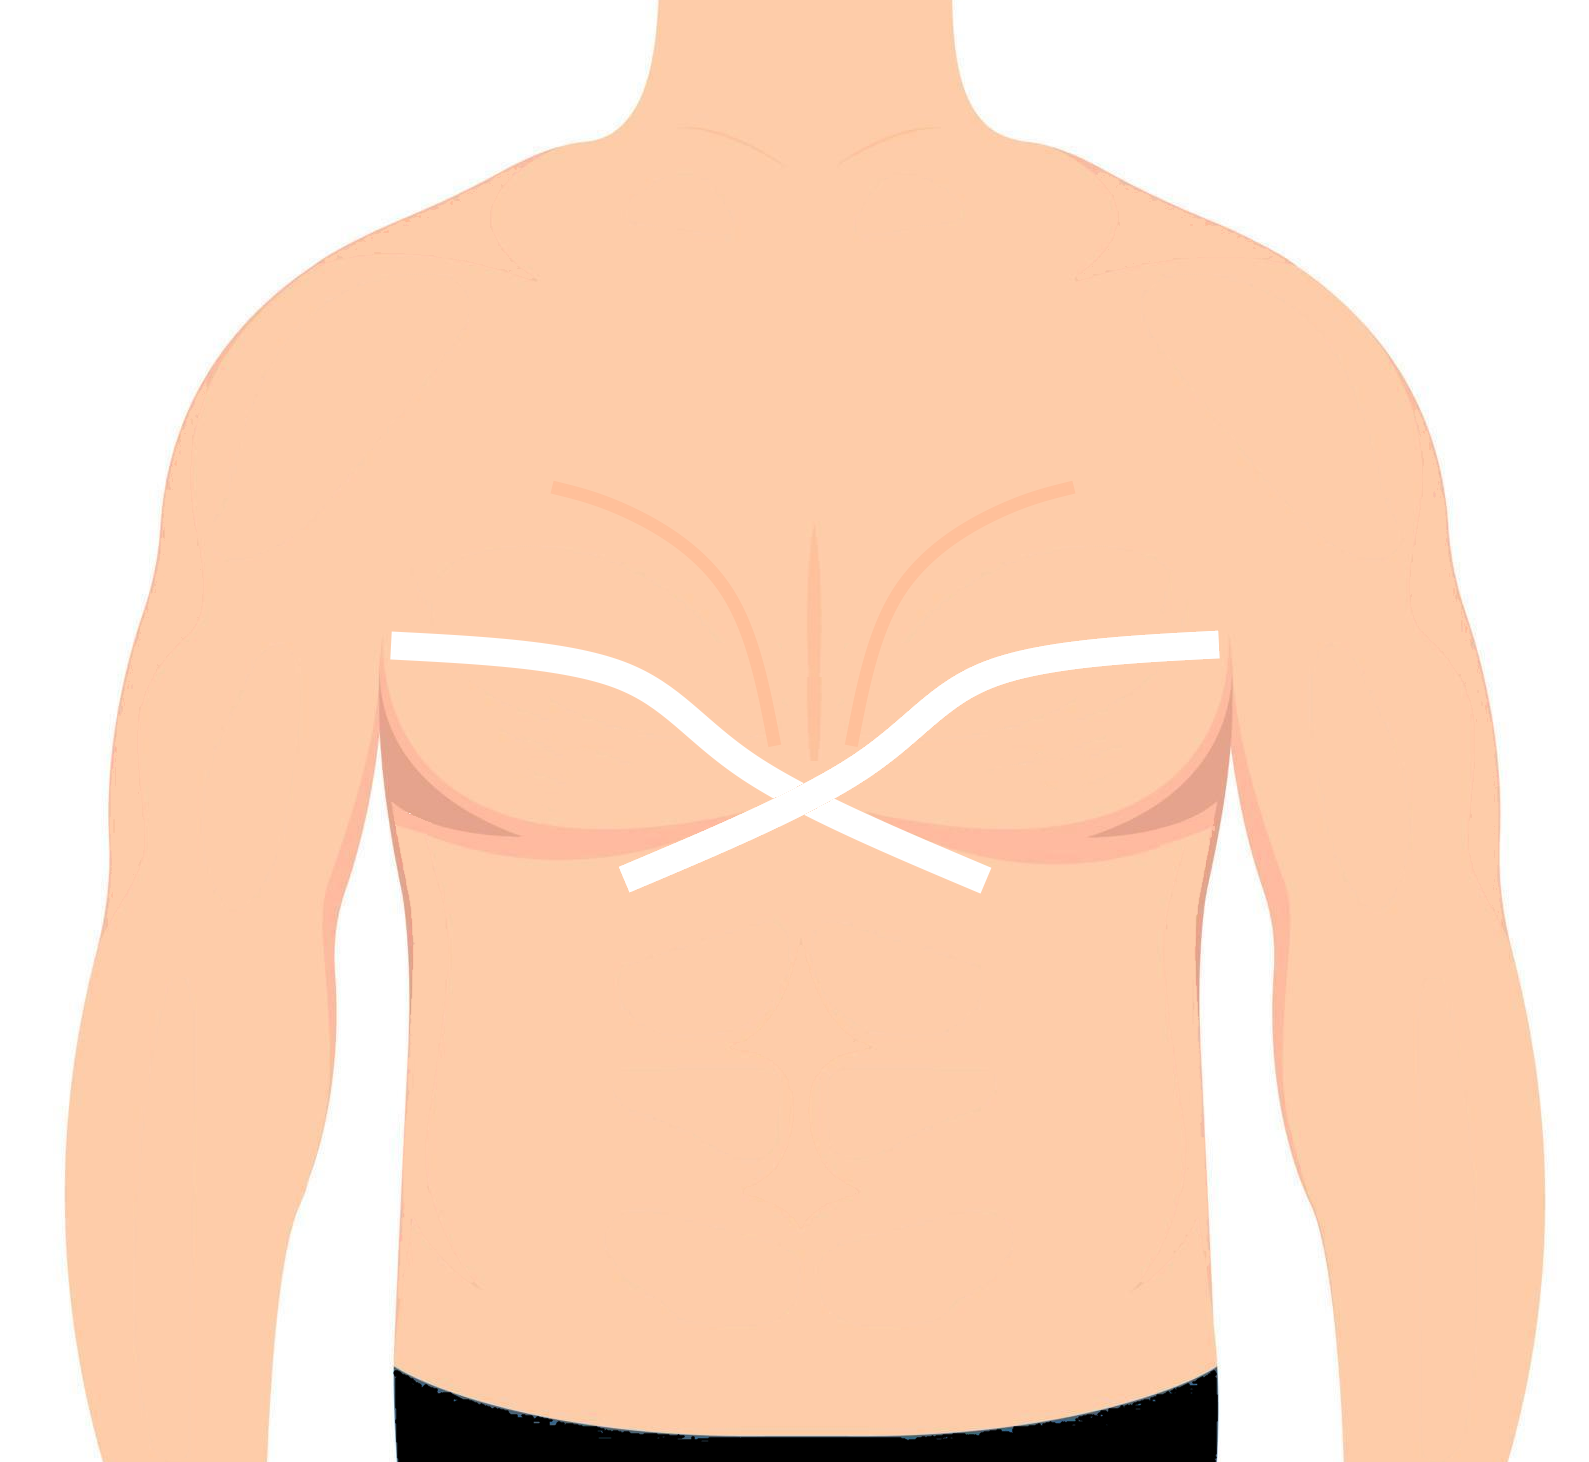
With that mind, if you don’t want to try the single tape and pinch option, the alternative is to use two separate strips of tape. You’ll need them to be a little longer than half the width of your chest. I would say a good guestimate would be left armpit to under the nipple on the opposite side of your chest.
We’ll start on the left and draw our chest tissue towards the centre of our body using our left hand. Now, apply the tape using your right hand, and to near the left-hand side armpit. Draw this across, keeping your chest tissue in place, and fix the tape about an inch below your other nipple.
Now do the other side of your chest and this time, cross the tape so you get up with a sort X pattern. You should now have draw your chest together using two different strips of tape. As before, you can ‘top up’ by adding an extra strip to give a stronger hold if you need to.
Conclusion
Taking the tape off remains pealing it away slowly. If you find this painful, some baby oil can help reduce the tape’s stickiness. It’ll smell nice too 😉
Hopefully the above will work for you, and good luck if you’ve giving it a go.
L x
Fantastic post Lynn, super tutorial too. Thanks for sharing this x
Thanks Lotte. It’s been a post I kept meaning to get around to, but couldn’t quite get the right start on it.
Your comment last time helped me write an opening, and the rest fell in place.
I’m hoping the diagrams add to the instructions. Saving a thousand words and all that 🙂
How is it that I can have actual growth in the right area and still utterly fail to achieve cleavage? Even with all the tips listed here! I shall leave that one to the philosophers. That said, for people that are not me (and I believe that is most people) these are great tips.
Thanks Joanna. 🙂
I think, and speaking of my own body, having -ahem- man flab 😕 means there’s material that can be corralled into some semblance; even if only temporary.
I wouldn’t recommend the tape option if you are developing. But certainly fillets and the right bra well help. Maybe give Janice Rose a call, if you’re curious.
Catching up with the blogosphere after a couple of weeks with other attention draws. Thanks for this advice which is uniquely well timed as I try to negotiate the recent chest enhancement nature has provided for me. I’ll let you know how I go – hopefully upwards!
Nice previous post about the Chams meeting and related useful products.
Have a good week.
Sue xx
Welcome back after your break, Sue. I hope you enjoyed the travel, company, and the sights.
Good luck with the advice. It is just that; some experience shared. Hearing from others will improve it, I think.
One of my friends helped me strap up with tape (before I had any growth) , and was soooo pleased with the results. She is a nurse and used some 3M medical grade tape.
Unfortunately i removed it rather vigorously, and took a patch of skin off with it ! Apparently meant to pull it along flat against the skin, rather then at 90 degrees !!
Never done it since !
I think tape could still be useful if you do have growth, trans fem boobies do tend to be further apart so having some way of getting them a bit closer does help with a nice cleavage.
Izzy xx
Thanks for the suggestion about a different tape, Izzy. With you on the care required when removing. Yowch! 😬
I think Tracey -a previous organiser at Chams – had sourced some medical tape. She would use a shower to help soften it. I wonder if baby oil or talc might help? Mind you, folk have concerns around talc these days.
I did see some research had come out, in which breast development was improved for trans femme people, with the addition of an extra hormone. Good news when that makes its way into treatment 🩷